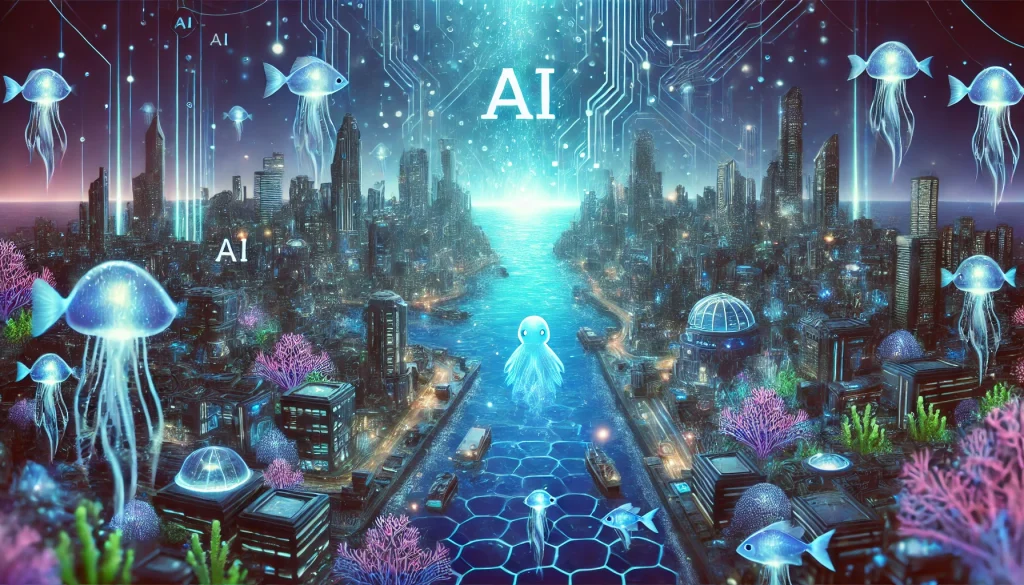
How to Use SeaArt AI: A Beginner’s Guide to Creating Stunning Visuals
SeaArt AI (https://www.seaart.ai/) is a powerful and user-friendly platform that harnesses the power of artificial intelligence to help you create breathtaking artwork, images, and even videos with minimal effort. Whether you’re an artist looking to explore new styles, a content creator seeking unique visuals, or a beginner with no prior experience, SeaArt offers an intuitive interface and a vast library of tools to bring your imagination to life. In this guide, we’ll walk you through the basics of using SeaArt AI to generate stunning creations.
Step 1: Getting Started
To begin, visit the SeaArt AI website at https://www.seaart.ai/. You’ll be greeted by a clean and welcoming homepage. The first thing you need to do is sign up for an account. Click on the “Sign Up” button, enter your email, and create a password. SeaArt offers free credits upon registration, which you can use to explore its features without any initial cost. Once registered, log in to access the dashboard.
Step 2: Exploring the Tools
SeaArt AI provides a variety of tools, but for this guide, let’s focus on its image and video generation capabilities:
- Text-to-Image: Turn your written ideas into visuals.
- Text-to-Video: Create short video clips from text prompts (if available in your plan).
- Image Upscaler: Enhance the quality of existing images.
- AI Filters: Apply artistic effects to your creations.
From the dashboard, select the tool you want to use. For beginners, the “Create AI Art” option under the text-to-image section is a great starting point.
Step 3: Crafting Your Prompt
The magic of SeaArt lies in its ability to interpret text prompts. In the text box, describe what you want to create. Be as detailed as possible for the best results. For example:
- “A futuristic city at sunset with flying cars and neon lights.”
- “A serene beach with crystal-clear water and palm trees.”
You can also specify styles like “realistic,” “anime,” or “cartoon” to guide the AI. Once your prompt is ready, hit the “Generate” button. SeaArt’s advanced algorithms will process your request and produce a visual in seconds.
Step 4: Customizing Your Creation
After the AI generates your image or video, you can refine it further. Use the “Edit” tools to:
- Adjust colors, lighting, or details.
- Upscale the resolution for sharper quality.
- Apply filters for a unique touch.
If you’re not satisfied with the result, tweak your prompt and regenerate. SeaArt allows multiple variations, so feel free to experiment!
Step 5: Saving and Sharing
Once you’re happy with your creation, click “Download” to save it to your device. SeaArt supports various file formats, making it easy to use your work in projects or share it on social media. The platform also has a community feature where you can showcase your art, get inspired by others, and even collaborate.
Bonus Tips for Success
- Be Specific: Detailed prompts yield better results.
- Explore Styles: SeaArt offers over 300,000 models and styles—try different ones to find your favorite.
- Use Free Credits Wisely: Test the platform with the free credits before committing to a paid plan.
Conclusion
SeaArt AI is an incredible tool that makes art creation accessible to everyone. With its simple interface, vast customization options, and powerful AI technology, you can transform your ideas into stunning visuals in minutes. Whether you’re creating for fun, work, or social media, SeaArt is worth exploring. Head to https://www.seaart.ai/, sign up, and start your creative journey today!


